

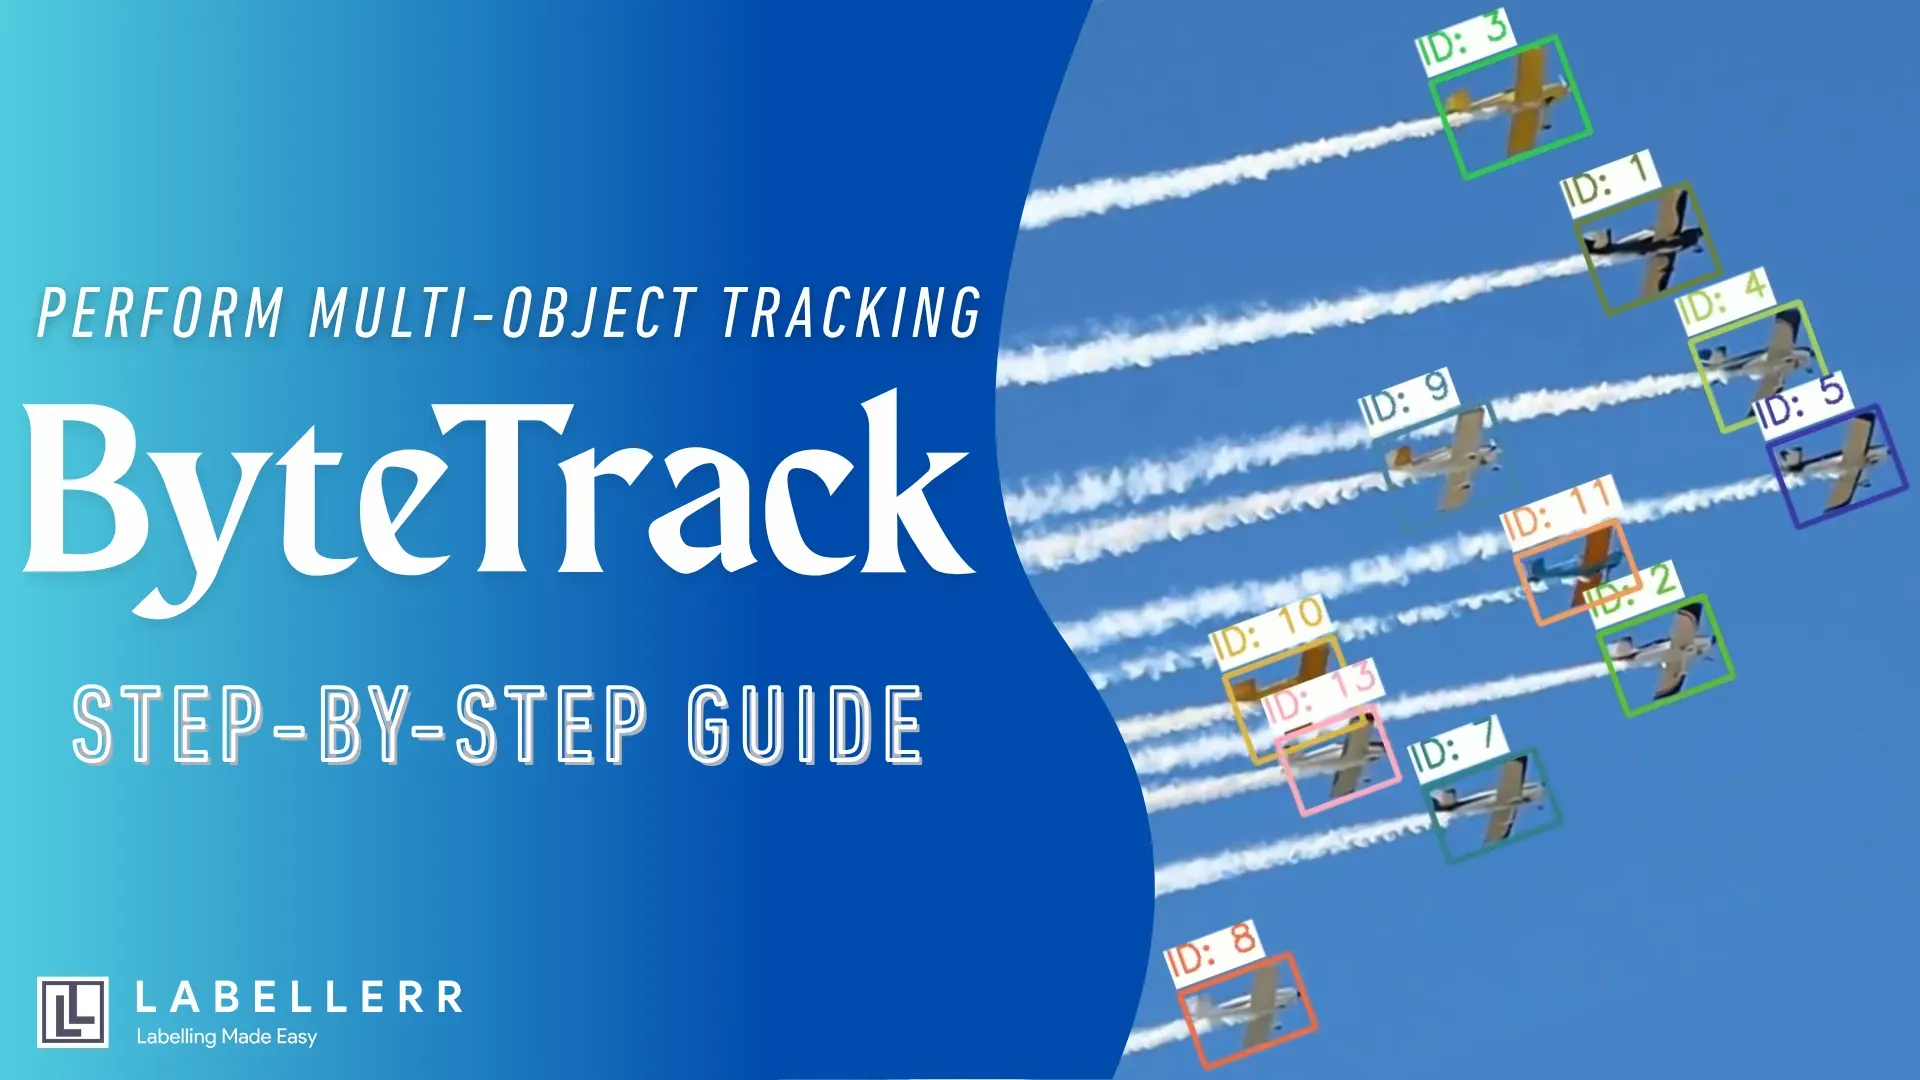
How to Implement ByteTrack for Multi-Object Tracking
This blog shows code implementation of ByteTrack, combining high- and low-confidence detections to maintain consistent object IDs across frames. By matching strong detections first and “rescuing” weaker ones, it excels at tracking in cluttered or occluded scenes.

Are you struggling to reliably track multiple moving objects in your video streams or real-time applications?
You’re not alone. According to recent industry reports, over 70% of computer vision practitioners cite multi-object tracking as one of their top technical challenges, especially in crowded or dynamic environments.
In this article, we’ll implement and test one of the most famous object tracking algorithms, namely ByteTrack, which is transforming how professionals approach multi-object tracking.
With its innovative method for handling both high and low-confidence detections.
ByteTrack offers a practical solution to boost accuracy and reliability in your computer vision projects.
Let's get started!
What is Object Tracking?
Object tracking is a computer vision technique that involves detecting and continuously following objects as they move across video frames.
The goal is to assign a consistent identity to each object, even as it changes position, interacts with other objects, or becomes partially occluded.
Effective object tracking is essential in scenarios like surveillance, sports analysis, and robotics, where understanding the movement and interaction of multiple entities is crucial
How ByteTrack works
ByteTrack tracks objects in videos using a simple but powerful two-step process that actively connects detection boxes across frames. Here’s how it works in plain terms:
Step 1: Detect Objects in Every Frame
First, ByteTrack uses an object detection model (like YOLO) to identify objects in each video frame. The detector draws bounding boxes around objects (e.g., cars, people) and assigns each box a confidence score between 0 and 1. A score of 0.9 means the model is 90% sure the box contains an object.
Step 2: Link Detections Across Frames
Instead of ignoring low-confidence detections (e.g., scores below 0.5), ByteTrack actively uses all detections to build robust tracks. It does this in two phases:
Phase 1: Match High-Confidence Detections
ByteTrack starts by linking high-confidence detections (e.g., scores above 0.6) to existing tracks. For example, if a car was tracked in Frame 1 and a high-confidence box appears in Frame 2, the algorithm checks:
- Does the new box overlap with the previous position? (using IoU: Intersection over Union)
- Does the object look similar? (using appearance features like color/texture).
If both conditions match, ByteTrack updates the car’s track with the new box.
Phase 2: Rescue Low-Confidence Detections
Next, ByteTrack gives low-confidence detections (e.g., scores between 0.1–0.5) a chance to “prove” they’re real objects.
For example, a partially hidden pedestrian might get a low score because the detector only sees their legs. ByteTrack compares these boxes to unmatched tracks (objects that lost their detections in Phase 1) using IoU. If a low-confidence box aligns well with a track’s predicted position, ByteTrack keeps the track alive.
Step 3: Manage Tracks Over Time
- New tracks: Unmatched high-confidence detections become new tracks.
- Lost tracks: If a track isn’t matched for several frames, ByteTrack removes it.
Why This Works Better
- Saves occluded objects: Low-confidence boxes often belong to hidden or blurry objects. By using them, ByteTrack avoids losing tracks during temporary occlusions.
- Reduces identity switches: Comparing both high/low detections to tracks minimizes mistakes when objects cross paths.
- Works with any detector: You can pair ByteTrack with YOLO, Faster R-CNN, or other models.
ByteTrack Tracking in various cases
- Tracking players
- Tracking Cars
- Tracking Planes
- Tracking peoples
Implementing ByteTrack
There are mainly two ways to implement Bytetrack, either using its GitHub repo or using the ultralytics library, which supports Bytetracking with its YOLO object detection.
Using its GitHub repo gives you more control, but it is complex, whereas using it through Ultralytics is straightforward but gives a lesser degree of control.
Here, I am going to explain both methods.
Using Ultralytics Library
First, you have to install some libraries using,
!pip install ultralytics torch torchvision opencv-python
Now, you can perform ByteTrack using
from ultralytics import YOLO

model = YOLO("yolov8x.pt")

results = model.track(
        source=path,
        tracker="bytetrack.yaml",  # Built-in ByteTrack config
        persist=True,  # Maintain track IDs across frames
        stream=True,  # Process video in real-time
    )
In tracking, in each frame, every object gets a unique track ID.
You can see it using:
def Bytetrack(path):
    results = model.track(
        source=path,
        tracker="bytetrack.yaml",  # Built-in ByteTrack config
        persist=True,  # Maintain track IDs across frames
        stream=True,  # Process video in real-time
    )

    # Process results frame by frame
    for frame_id, result in enumerate(results):
        # Get tracking information
        if result.boxes is not None and result.boxes.id is not None:
            track_ids = result.boxes.id.int().cpu().tolist()
            bboxes = result.boxes.xyxy.cpu().tolist()
            confidences = result.boxes.conf.cpu().tolist()
            class_ids = result.boxes.cls.int().cpu().tolist()

            # Print tracking results
            for track_id, bbox, conf, cls_id in zip(track_ids, bboxes, confidences, class_ids):
                print(f"Frame {frame_id}: Track ID {track_id}, Class {cls_id}, "
                    f"Confidence {conf:.2f}, BBox {bbox}")
video 1/1 (frame 1/149) /home/HP/Jupyter_Notebooks/bytetrack/sample-1.mp4: 384x640 6 persons, 1 sports ball, 91.2ms
Frame 0: Track ID 1, Class 0, Confidence 0.87, BBox [789.7572021484375, 1026.783935546875, 919.568359375, 1277.760986328125]
Frame 0: Track ID 2, Class 0, Confidence 0.85, BBox [2176.254638671875, 910.205078125, 2253.268798828125, 1181.545654296875]
Frame 0: Track ID 3, Class 0, Confidence 0.84, BBox [1328.196044921875, 852.125732421875, 1482.460205078125, 1093.5401611328125]
Frame 0: Track ID 4, Class 0, Confidence 0.83, BBox [1633.968505859375, 769.300537109375, 1720.2532958984375, 993.05615234375]
Frame 0: Track ID 5, Class 0, Confidence 0.81, BBox [1305.735107421875, 724.9091796875, 1415.515625, 943.843017578125]
Frame 0: Track ID 6, Class 32, Confidence 0.60, BBox [2087.01611328125, 1063.014892578125, 2146.136962890625, 1110.908203125]
Here, it says the model has detected 6 objects in a single frame in the given BBox.
You can visualize the tracking car on video using the following function.
Modify the function to track any class of the Coco dataset.
import cv2
import random
from ultralytics import YOLO

# Load YOLOv8 model
model = YOLO("yolov8x.pt")

def bytetrack(path, output_path="output.mp4"):
    # Initialize video capture
    cap = cv2.VideoCapture(path)
    if not cap.isOpened():
        print("Error opening video file")
        return

    # Get video properties
    fps = cap.get(cv2.CAP_PROP_FPS)
    width = int(cap.get(cv2.CAP_PROP_FRAME_WIDTH))
    height = int(cap.get(cv2.CAP_PROP_FRAME_HEIGHT))
    cap.release()

    # Initialize video writer
    fourcc = cv2.VideoWriter_fourcc(*'mp4v')
    out = cv2.VideoWriter(output_path, fourcc, fps, (width, height))

    # Dictionary to store unique colors for each track ID
    track_id_colors = {}
    # Class IDs for person (0) and football (32)
    target_classes = [2, 3, 4, 5]

    # Track objects in video
    results = model.track(
        source=path,
        tracker="bytetrack.yaml",
        persist=True,
        stream=True,
        classes=target_classes
    )

    for frame_id, result in enumerate(results):
        frame = result.orig_img.copy()  # Original frame without annotations

        if result.boxes is not None and result.boxes.id is not None:
            # Get detection data
            track_ids = result.boxes.id.int().cpu().tolist()
            bboxes = result.boxes.xyxy.cpu().tolist()
            class_ids = result.boxes.cls.int().cpu().tolist()

            # Process detections
            for track_id, bbox, cls_id in zip(track_ids, bboxes, class_ids):
                # Only process person and football classes
                if cls_id not in target_classes:
                    continue

                # Assign unique color for each track ID
                if track_id not in track_id_colors:
                    track_id_colors[track_id] = (
                        random.randint(0, 255),
                        random.randint(0, 255),
                        random.randint(0, 255)
                    )
                color = track_id_colors[track_id]

                # Convert coordinates to integers
                x1, y1, x2, y2 = map(int, bbox)

                # Draw bounding box
                cv2.rectangle(frame, (x1, y1), (x2, y2), color, 3)

                # Display track ID with white background
                text = f"ID: {track_id}"
                (text_width, text_height), baseline = cv2.getTextSize(
                    text, cv2.FONT_HERSHEY_SIMPLEX, 1.0, 2
                )

                # Calculate background rectangle coordinates
                bg_x1 = x1
                bg_y1 = y1 - 15 - text_height  # Position above bounding box
                bg_x2 = x1 + text_width
                bg_y2 = y1 - 15 + baseline

                # Ensure background stays within frame
                bg_y1 = max(0, bg_y1)  # Don't go above top of frame
                bg_y2 = min(frame.shape[0], bg_y2)  # Don't go below bottom

                # Draw filled white rectangle
                cv2.rectangle(frame, (bg_x1, bg_y1), (bg_x2, bg_y2), (255, 255, 255), -1)

                # Draw text
                cv2.putText(frame, text,
                            (x1, y1 - 15),
                            cv2.FONT_HERSHEY_SIMPLEX,
                            1.0, color, 2)

        # Write frame to output video
        out.write(frame)
        print(f"Processed frame {frame_id}", end='\r')

    # Release video writer
    out.release()
    print(f"\nSaved video with enhanced track IDs: '{output_path}'")
Using its official GitHub
For applications requiring direct access to the ByteTrack algorithm or custom modifications, implementing the original ByteTrack repository provides maximum flexibility and control.
This approach allows for fine-tuning of tracking parameters and integration with custom detection models.
# Clone the ByteTrack repository
git clone https://github.com/ifzhang/ByteTrack.git
cd ByteTrack

# Install dependencies
pip3 install -r requirements.txt
python3 setup.py develop

# Install additional dependencies
pip3 install cython
pip3 install 'git+https://github.com/cocodataset/cocoapi.git#subdirectory=PythonAPI'
pip3 install cython_bbox
Now, create the following script and input your video.
import cv2
import numpy as np
from yolox.tracker.byte_tracker import BYTETracker
from ultralytics import YOLO
import argparse

class ByteTrackArgs:
    def __init__(self):
        self.track_thresh = 0.5
        self.track_buffer = 30
        self.match_thresh = 0.8
        self.aspect_ratio_thresh = 1.6
        self.min_box_area = 10
        self.mot20 = False

def run_tracking_with_yolov8_and_bytetrack(video_path, output_path=None):
    # Initialize YOLOv8 for detection
    detection_model = YOLO("yolov8n.pt")

    # Initialize ByteTracker
    args = ByteTrackArgs()
    tracker = BYTETracker(args, frame_rate=30)

    # Open video
    cap = cv2.VideoCapture(video_path)
    fps = int(cap.get(cv2.CAP_PROP_FPS))
    width = int(cap.get(cv2.CAP_PROP_FRAME_WIDTH))
    height = int(cap.get(cv2.CAP_PROP_FRAME_HEIGHT))

    # Initialize video writer
    if output_path:
        fourcc = cv2.VideoWriter_fourcc(*'mp4v')
        out = cv2.VideoWriter(output_path, fourcc, fps, (width, height))

    frame_id = 0
    while True:
        ret, frame = cap.read()
        if not ret:
            break

        # Run YOLOv8 detection
        results = detection_model(frame, verbose=False)

        # Extract detections
        detections = []
        if results[0].boxes is not None:
            boxes = results[0].boxes.xyxy.cpu().numpy()
            scores = results[0].boxes.conf.cpu().numpy()
            classes = results[0].boxes.cls.cpu().numpy()

            # Filter detections (e.g., only person class = 0)
            for box, score, cls in zip(boxes, scores, classes):
                if cls == 0 and score > 0.3:  # person class with minimum confidence
                    x1, y1, x2, y2 = box
                    detections.append([x1, y1, x2, y2, score])

        # Convert to numpy array
        if len(detections) > 0:
            detections = np.array(detections)
        else:
            detections = np.empty((0, 5))

        # Update tracker
        online_targets = tracker.update(detections, [height, width], [height, width])

        # Draw tracking results
        for track in online_targets:
            track_id = track.track_id
            bbox = track.tlbr
            x1, y1, x2, y2 = int(bbox[0]), int(bbox[1]), int(bbox[2]), int(bbox[3])

            # Draw bounding box and ID
            cv2.rectangle(frame, (x1, y1), (x2, y2), (0, 255, 0), 2)
            cv2.putText(frame, f'ID: {track_id}', (x1, y1-10),
                       cv2.FONT_HERSHEY_SIMPLEX, 0.7, (0, 255, 0), 2)

        # Display frame
        cv2.imshow('ByteTrack Original Implementation', frame)

        # Save frame
        if output_path:
            out.write(frame)

        if cv2.waitKey(1) & 0xFF == ord('q'):
            break

        frame_id += 1

    # Cleanup
    cap.release()
    if output_path:
        out.release()
    cv2.destroyAllWindows()

# Usage
run_tracking_with_yolov8_and_bytetrack("input_video.mp4", "output_bytetrack_original.mp4")
Limitations of ByteTrack
Despite its strengths, ByteTrack faces several limitations:
- Occlusion: ByteTrack may struggle when objects are heavily occluded (blocked from view), leading to lost or swapped identities.
- Small Object Tracking: Tracking small objects is challenging due to their limited pixel representation, which can result in inaccurate bounding boxes and inconsistent identities.
- Real-Time Performance: The algorithm demands significant computational resources, which can be a barrier for deployment on devices with limited processing power, such as embedded systems.
- Appearance Changes: Rapid changes in object appearance or movement can disrupt tracking continuity, especially if the detection model cannot adapt quickly enough.
Conclusion
ByteTrack represents a significant advancement in multi-object tracking, offering robust performance by leveraging both high and low-confidence detections.
Its ability to maintain object identities in complex scenarios makes it suitable for diverse applications, including autonomous driving, sports analytics, and manufacturing.
While ByteTrack is not without its challenges, particularly regarding occlusion, small object tracking, and computational demands, it remains a powerful tool for developers seeking to enhance object-tracking capabilities in their computer vision projects.
FAQs
How does ByteTrack improve tracking accuracy in crowded scenes?
ByteTrack first matches high-confidence detections to existing tracks using IoU and appearance features. Then, it “rescues” low-confidence detections (e.g., partially occluded objects) by comparing them to unmatched tracks. This two-phase approach maintains IDs even when objects briefly overlap or are partially hidden.
Can I integrate ByteTrack with any object detection model?
Yes. ByteTrack is detector-agnostic. You can pair it with YOLO, Faster R-CNN, or any model that outputs bounding boxes and confidence scores. Simply feed detections (box coordinates and scores) into the ByteTrack update routine to leverage its tracking pipeline.
What hardware do I need to run ByteTrack in real time?
Real-time performance typically requires a GPU with at least 8 GB of VRAM (e.g., NVIDIA RTX 3060 or better). For 1080p video at ≥30 FPS, pairing ByteTrack with a lightweight detector like YOLOv8n or YOLOv5s helps maintain speed. On high-resolution streams or heavy models (YOLOv8x), a more powerful GPU (RTX 3080/3090 or equivalent) is recommended.
References

Simplify Your Data Annotation Workflow With Proven Strategies
.png)
